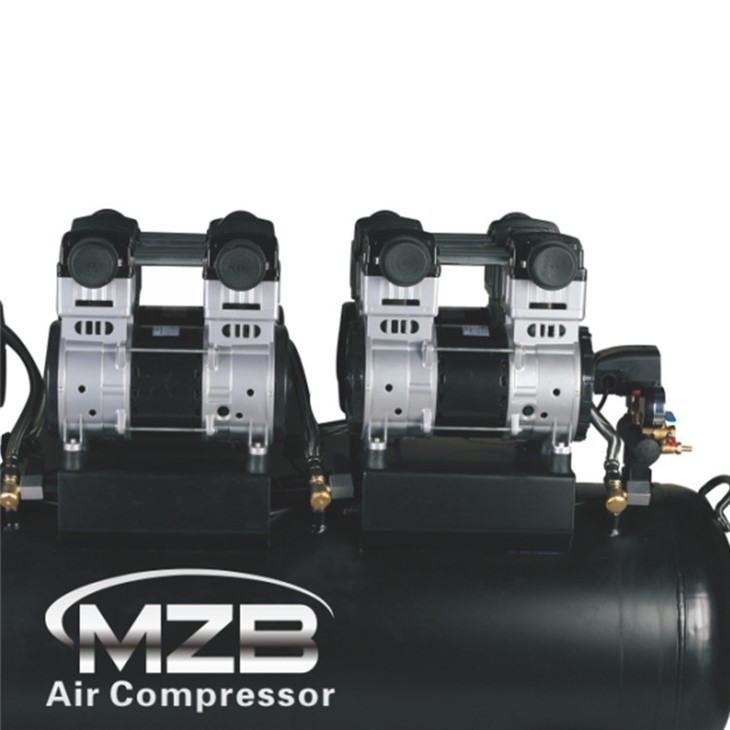
As a trusted supplier of Quiet Dental Air Compressors, I understand the importance of proper maintenance for these essential pieces of equipment. One crucial aspect of maintenance is the correct installation of the air filter. In this blog post, I'll guide you through the process of installing the air filter of a quiet dental air compressor correctly, ensuring optimal performance and longevity of your compressor.
Why is the Air Filter Important?
Before we dive into the installation process, let's first understand why the air filter is so important for a dental air compressor. The air filter plays a vital role in protecting the compressor and the dental equipment connected to it. It prevents dust, dirt, debris, and other contaminants from entering the compressor, which can cause damage to the internal components, reduce efficiency, and even lead to breakdowns. A clean air filter also helps to maintain the quality of the compressed air, ensuring that it is free from impurities that could potentially harm patients or affect the performance of dental tools.

Tools and Materials You'll Need
Before you start installing the air filter, gather the following tools and materials:
- New air filter (make sure it is the correct size and type for your specific dental air compressor)
- Screwdriver (if required to remove the filter housing)
- Cleaning cloth or brush
- Safety glasses
Step-by-Step Installation Guide
Step 1: Turn Off the Compressor
Safety first! Before you begin any maintenance work on your dental air compressor, make sure it is turned off and unplugged from the power source. This will prevent any electrical shock or accidental start-up during the installation process.
Step 2: Locate the Air Filter Housing
The air filter housing is usually located on the side or top of the compressor. It is a small, rectangular or circular box with a cover. Refer to your compressor's user manual if you're having trouble finding it.
Step 3: Remove the Old Air Filter
If the filter housing is secured with screws, use a screwdriver to remove them. Carefully lift the cover off the housing. Take out the old air filter and inspect it for any signs of damage or excessive dirt. If the filter is dirty or damaged, it's time to replace it.
Step 4: Clean the Filter Housing
Use a cleaning cloth or brush to remove any dust or debris from the filter housing. Make sure to clean the inside of the housing thoroughly, as any remaining dirt could contaminate the new filter.
Step 5: Install the New Air Filter
Take the new air filter and insert it into the filter housing. Make sure it fits snugly and is properly aligned. If the filter has an arrow indicating the direction of airflow, ensure that it is facing the correct way.
Step 6: Replace the Filter Housing Cover
Place the cover back on the filter housing and secure it with the screws (if applicable). Make sure the cover is tightly sealed to prevent any air leaks.
Step 7: Turn On the Compressor
Once the new air filter is installed, plug the compressor back into the power source and turn it on. Check for any unusual noises or vibrations, which could indicate a problem with the installation.
Tips for Maintaining Your Air Filter
- Regularly check the air filter: Check the air filter at least once a month to see if it needs to be replaced. If the filter is dirty or clogged, replace it immediately.
- Follow the manufacturer's recommendations: Refer to your compressor's user manual for specific maintenance instructions and recommended replacement intervals for the air filter.
- Keep the compressor clean: Regularly clean the exterior of the compressor to prevent dust and debris from accumulating around the air intake.
- Use high-quality air filters: Invest in high-quality air filters that are designed for your specific dental air compressor. This will ensure optimal performance and protection for your equipment.
Conclusion
Installing the air filter of a quiet dental air compressor correctly is a simple yet important task that can help to ensure the longevity and performance of your compressor. By following the steps outlined in this blog post and maintaining your air filter regularly, you can keep your dental air compressor running smoothly and provide clean, high-quality compressed air for your dental practice.
If you're in the market for a new dental air compressor or need replacement parts, we offer a wide range of products, including the 8 Bar High Pressure Oil Free Air Compressor and the Super Silent Air Compressor. Our products are designed to meet the highest standards of quality and performance, and we're committed to providing excellent customer service. If you have any questions or would like to discuss your specific needs, please don't hesitate to contact us for a purchase negotiation.
References
- Manufacturer's user manual for the dental air compressor
- Industry standards and best practices for dental air compressor maintenance


